King Arthur Epi de Ble and Dutch Oven Dinner Rolls. And A Couple Of No Kneads.

I went a little over the top with the Thanksgiving breads this year: A 1.3x batch of King Arthur’s Epis de Ble, two batches of King Arthur’s Dutch Oven Dinner rolls, and two No-Knead breads. All of that for nine people. I started at 4:30am and finished around 11am.

I made a couple of changes to the Epi de Ble recipe. I increased the total flour weight to 620 grams and used bread flour instead of all purpose. This made four epi. The poolish was changed to incorporate all of the water — 403 grams water and 403 grams flour. The total formula included 63% water, 2% salt. King Arthur original recipe here.

I made a double batch the Dutch Oven Dinner Rolls and modified that recipe slightly as well. All of the water (227g x 2 = 454g) and 454g of the flour were included in poolish that spent three days in the refrigerator. And I used 2% salt by weight. King Arhur recipe is here.

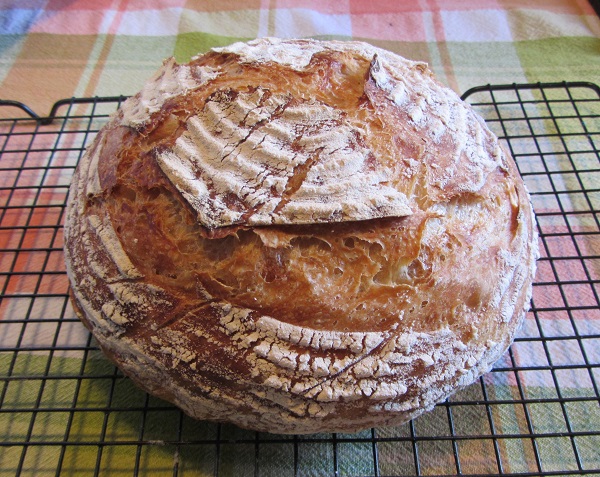
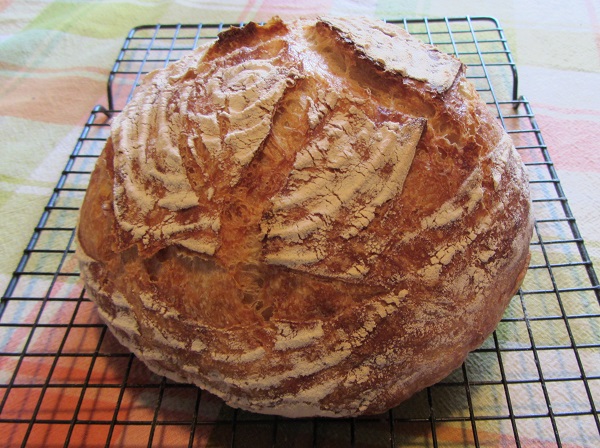
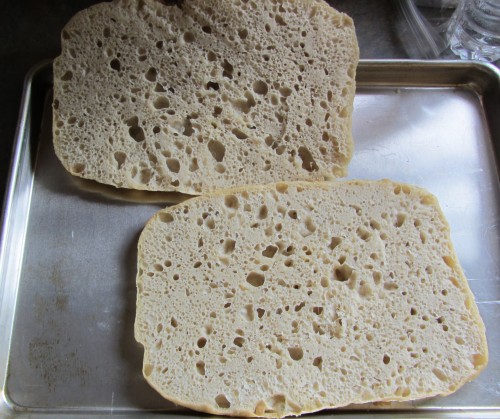
Finally, I made two No-Kneads using the recipe in the header at the top of the page.

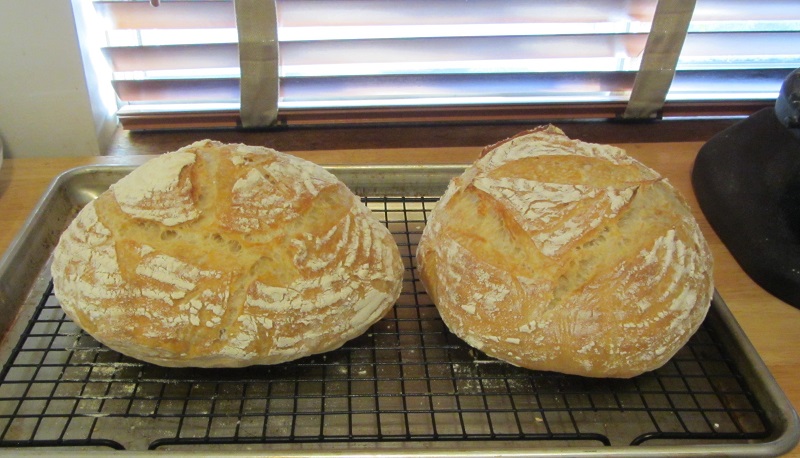
I think overall everything came out a little bit lighter colored than usual — I put a sheet tray in the bottom of the oven so that none of the bottoms would get too dark. It had the side effect of not allowing the breads to deeply brown either, but I thought it was a reasonable tradeoff and nobody seemed to mind.

It was basically five individual bakes, so I made a chart of when everything needed to be handled, mixed, or if the oven needed a temperature change for the upcoming items. With that many things happening I was glad I did, and I didn’t wind up with any timing conflicts.

Next year I’m going to make half as much stuff and get more sleep.

Happy Baking

A No Knead Bread And Seasoning A Banneton

First a picture of Sunday’s No Knead bread then a little background.

I’ve owned a banneton for at least eight years. I know that because I have a blog post from 2016 that talks about me baking with two of them. Somehow I never got the message that they’re supposed to be seasoned to prevent sticking. The ones I purchased didn’t come with instructions. I just happened to be reading about a banneton related topic and a very small light bulb went off in my head. So I thought I’d see what banneton care and feeding was supposed to be.

Bannetons are supposed to be seasoned. The method is:

  1. Spritz the banneton with oil or water. (I lightly rinsed mine in water then shook it out well — I didn’t want oil going rancid at some point.)
  2. Sprinkle some AP flour or rice flour or a combo of the two into the banneton and angle it around until the flour coats the inside. Shake out the excess flour.
  3. Use a little more flour with every bake.
  4. Air dry the banneton after every use, preferably in the sun to prevent any unwanted molds from populating the flour.
  5. Store the banneton in an airtight bag or container to keep bugs from taking up residence.
  6. If too much flour builds up then sweep it out with a stiff brush.

That’s it. Any crevices or tiny cracks in the banneton are now basically non-stick.

Below is another picture of that same bread because I couldn’t decide which I liked better. The light is from the back rather than the side.

The bread is 75% hydration with no additional “handling flour” added to the dough itself and it didn’t stick at all. (Recipe here. Or use the Menu above to go to the No Knead page.)

Other notes — I’ve stopped using bench flour or a Silpat when preparing a No Knead — I use a tablespoon or two of oil on the counter and spread it around with a paper towel. If the dough tries to stick to the counter I just lift the dough with a bench scraper, though generally it doesn’t stick.

The other advantage of using oil on the counter is that I can then used the oiled paper towel to rub a bit of sheen on any other tools that are coming into contact with the dough. I rub a little on a spatula to help remove the dough from the mixing bowl to the counter. I rub a little on a serrated bread knife for any slashes that I want to make on the dough prior to baking. In the picture above I used five slashes around the “waist” of the dough, the splits on top were caused the dough naturally expanding where the seams were gathered up as the dough was placed into the banneton. I also used a Le Creuset bread oven rather than a traditional dutch oven for this bake — that made it so I could easily get to the sides of the dough after it was removed from the banneton.

I’ve gone years of using bannetons with some trepidation and drama for no real reason. Here’s celebrating finally learning something, even if it was mostly by chance.

Focaccia. Simple.

by A.J. Coltrane

Making rustic breads is easy. Focaccia is even easier. The recent-high-school-graduate niece made the loaf below, with very little coaching.

focaccia 061513

This became one of two caprese sandwiches for GNOIF. (She made both breads.) Both of the breads were devoured in no time.

The ingredients are essentially the same as for the No Knead Bread, with extra-virgin olive oil added to the mix — 400 grams AP Flour, 300 grams water, 8 grams kosher salt, 1/4 tsp instant yeast, and 1-1/2 TBP olive oil. (75% hydration and 2% salt by weight. Most of the time I use the scale if it’s baking related. It’s just as fast as measuring cups and the results are way more consistent.)

Everything gets combined in the Kitchenaid and mixed on low speed with the paddle attachment for 8 minutes. Cover the dough with plastic wrap for 18-24 hours. The next day, line a sheet tray with parchment paper and add a light coat of extra virgin olive oil, about 1-2 tablespoons. Scrape the dough out onto the parchment and spread it out to near the corners of the tray. (It doesn’t have to be perfect, the dough will fix itself.) Let rise 1-1/2 to 2 hours until poofy. When the dough is almost ready to go, preheat the oven to 425 F. Spread about 2 tablespoons of oil over the top of the dough and dimple the top with your fingers. (Oiled fingers help keep the dough from sticking as much.) Place the tray in the oven and bake 22-25 minutes. Let cool in the tray.

focaccia sliced 061513

We sliced this loaf width-wise. Both sides were lightly coated with basil pesto. (Yay Earthbox basil!) We splurged on heirloom tomatoes, which were “drained” and thinly sliced and chopped. The sandwich was finished with fresh mozzarella that had been thinly sliced and squished between paper towels until most of the moisture was pressed out.

Easy! I’m sure that one out of one nieces would agree.