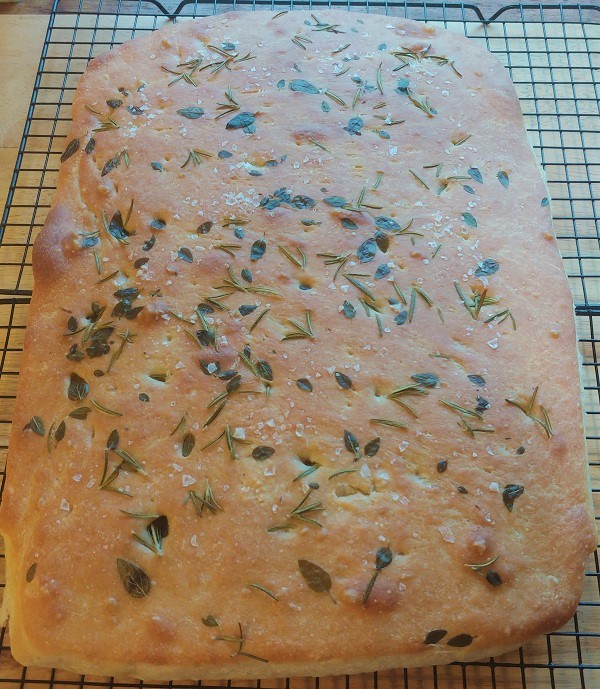
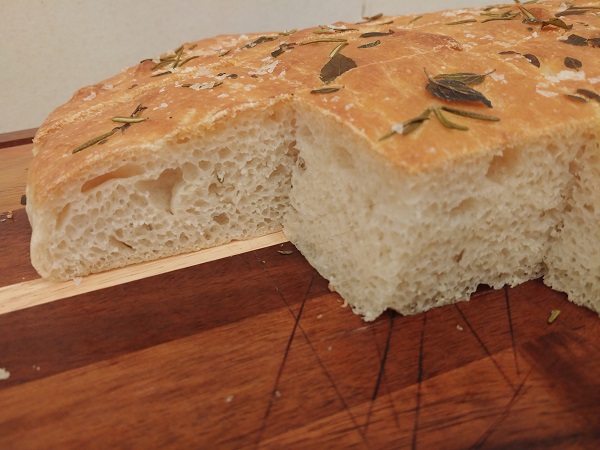
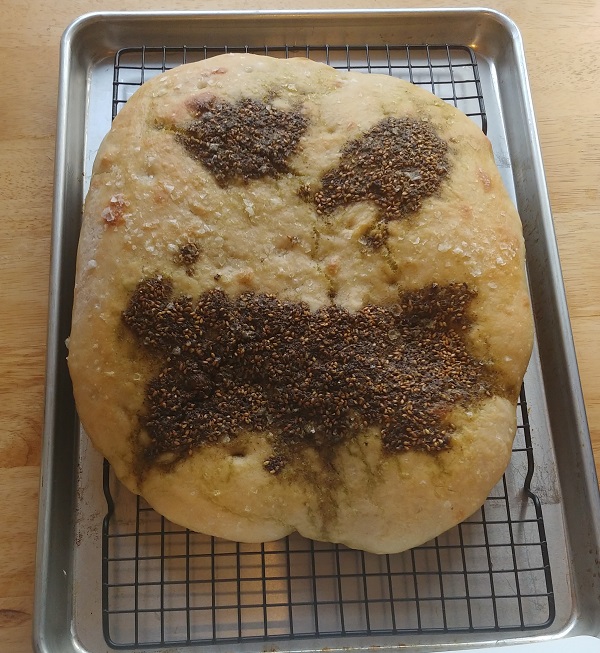
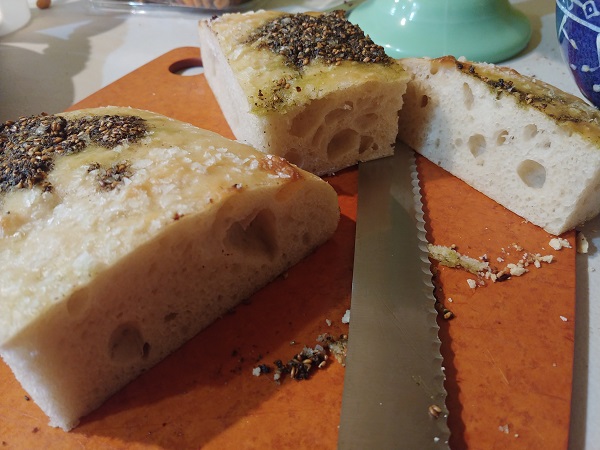
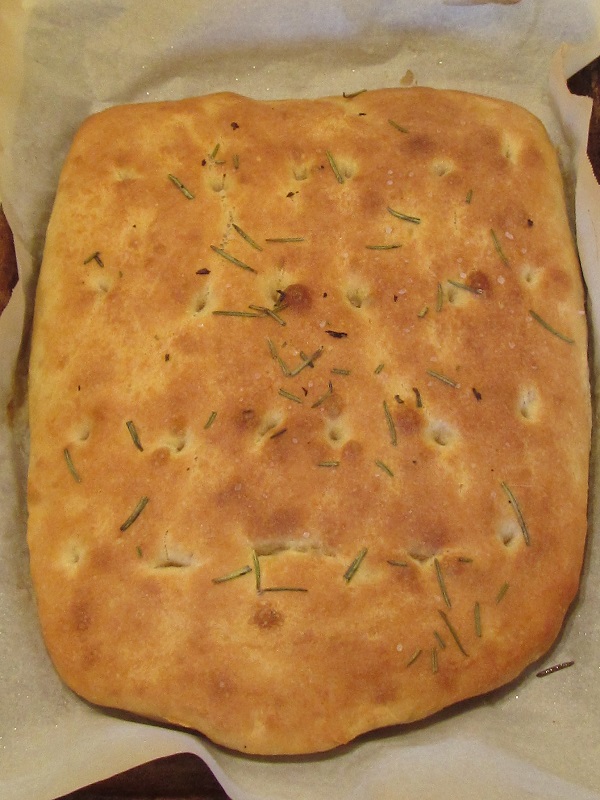
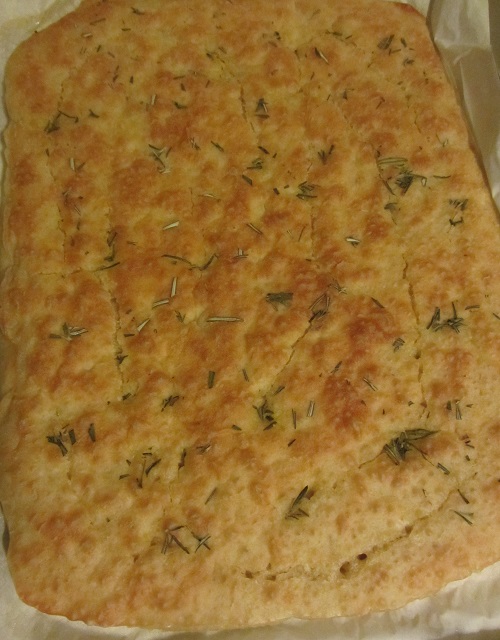
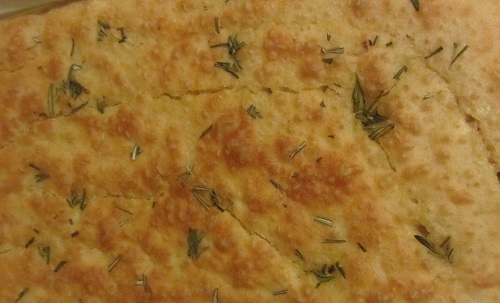
Three breads over three days. I started the day before the first bakes by making two poolishes. One was made with AP flour, the other was bread flour. Each contained 600g flour and 600g water — 2400 grams in total. Both poolishes received a 24-hour rise on the counter. At that point I made the (below) challah and dinner rolls, but that didn’t use up all of the poolish. The remaining poolishes went into the refrigerator and three days later were used up in this focaccia:
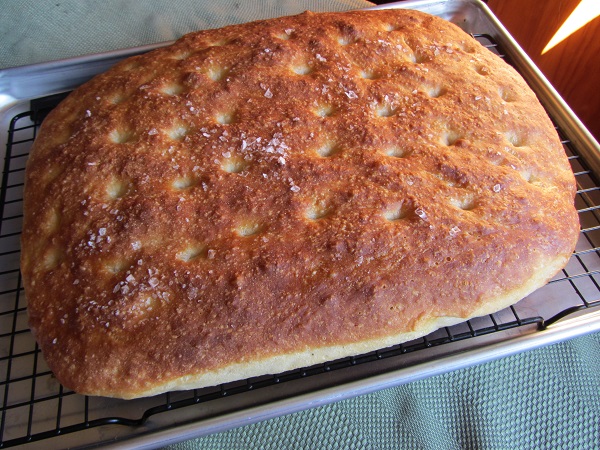
The leftover poolishes totaled 1000 grams; right around 500g of the AP poolish and 500g of the bread flour poolish. In theory that means what remained contained 500 grams of water and 500 grams of the mixture of flours.
To that I added 500g bread flour, 250 grams water, 20 grams kosher salt, 30 grams olive oil, and 2 teaspoons of instant (not fast acting) yeast. The bakers percentages come out to 75% hydration, 2% salt, 2% oil. Mix everything for 8 minutes, then cover and allow to rise for two hours. De-pan to an oiled and parchment-lined sheet tray. Oil the top of the dough, poke into the dough all over with your fingers, and cover and let rise another hour. Prior to baking sprinkle on flaky salt, rosemary, or whatever topping is preferred. Bake at 450F for 25-35 minutes. I used an additional sheet tray to the bottom to prevent the bottom from getting too dark.
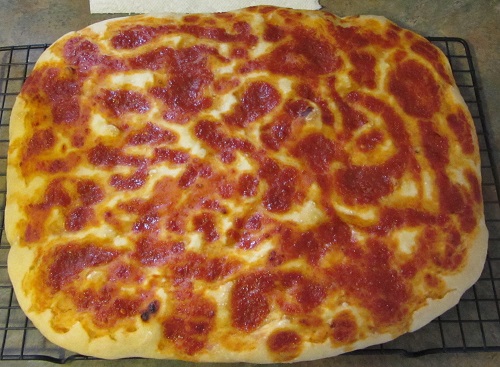
Next up, but baked first in reality is the challah.
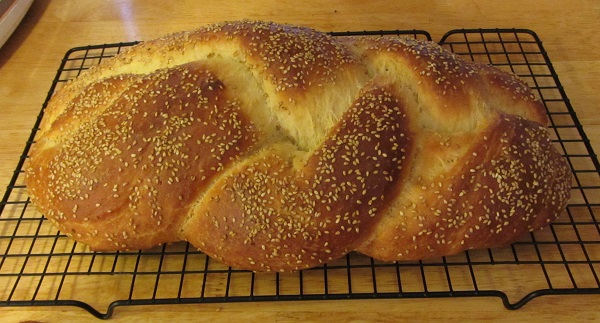
Historically I’ve used either a Michael Ruhlman recipe or a Peter Reinhart recipe. The link to the Ruhlman recipe that I’d refer to was broken so I went with: ~800g poolish (400g bread flour, 400g water), an additional 400g bread flour, 1 egg + 1 yolk (reserve white for egg wash), 50g water, 50g room temperature butter, 14g kosher salt, 2 teaspoon instant yeast. Mix for 8 minutes on low speed. Cover and let rise 1.5 hours. Divide into three braids about 18″ long. Braid. Cover and let rise 1 hour. Make an egg wash of the egg white + 1 TBP water. Brush over the challah, sprinkle on sesame seeds. Bake 30-40 minutes at 425F. I should have used a 2nd sheet tray under this one, the bottom was vaguely overdone though nobody complained.
Last up are the dinner rolls, which were based on this King Arthur Big Batch Quick Dinner Rolls recipe. The differences were that I was using an AP flour poolish. And I didn’t want them quick.
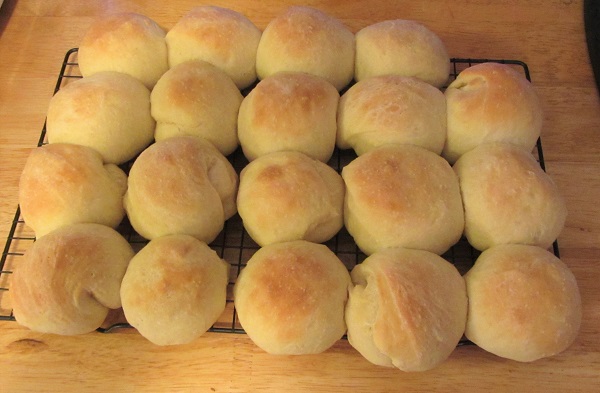
- minutes until a soft, smooth ball of dough is formed. The dough should feel elastic and slightly tacky to the touch.
- Lighly oil the dough and the bowl and let rise for 1-2 hours at room temperature or until the dough is full and puffy.
- You can place the rolls into one Silpat lined (or parchment lined) sheet tray.
- After the rolls are in the tray, cover with an inverted sheet tray and let rise at room temperature for another 1-1.5 hours, or until well rounded and full looking. Preheat the oven to 350°F.
- Bake the rolls for 20 to 25 minutes or until golden brown and an internal thermometer reads 190°F. You can brush the baked rolls with melted butter if desired. (I chose not to, since I wasn’t serving immediately. We reheated the rolls for serving.)