Some Bread Photos From 2017-2018

We lost every blog post after mid-September 2017 in the move to the new host and address. Public Service Message: Back Up Your Files Frequently!

Some bread pictures from 2017-2018:

A medium-or-high hydration rustic loaf. The pattern in the flour is created by proofing the bread in a banneton:

170704 boule

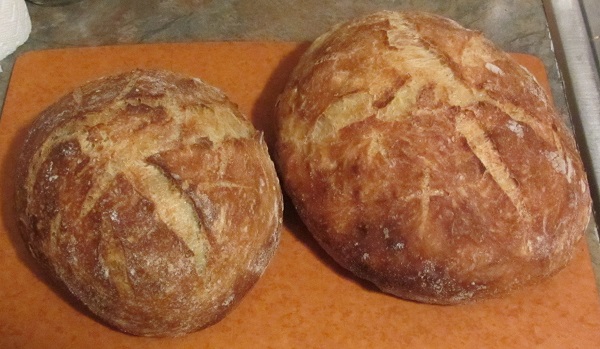
The file title of the photo below indicates that at least one of these two loaves used barley flour. I believe the smaller one used ~30% barley flour:

180121 barley bread

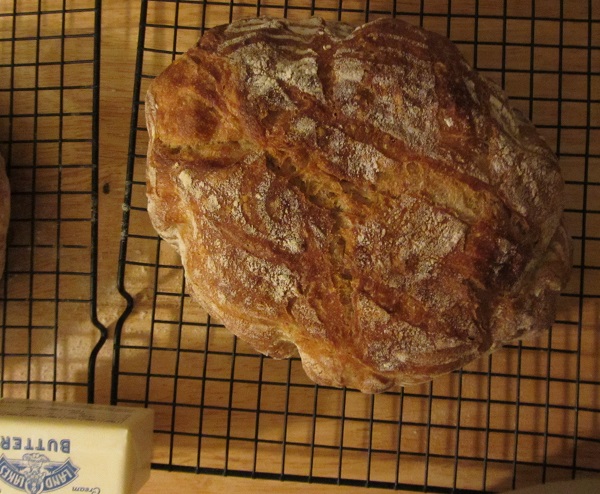
The photo below is why I don’t try to use parchment when baking No-Knead breads. The parchment didn’t allow the bread to spread out in an organic fashion. It tasted fine. But. Ugly.

bread parment sling 171230

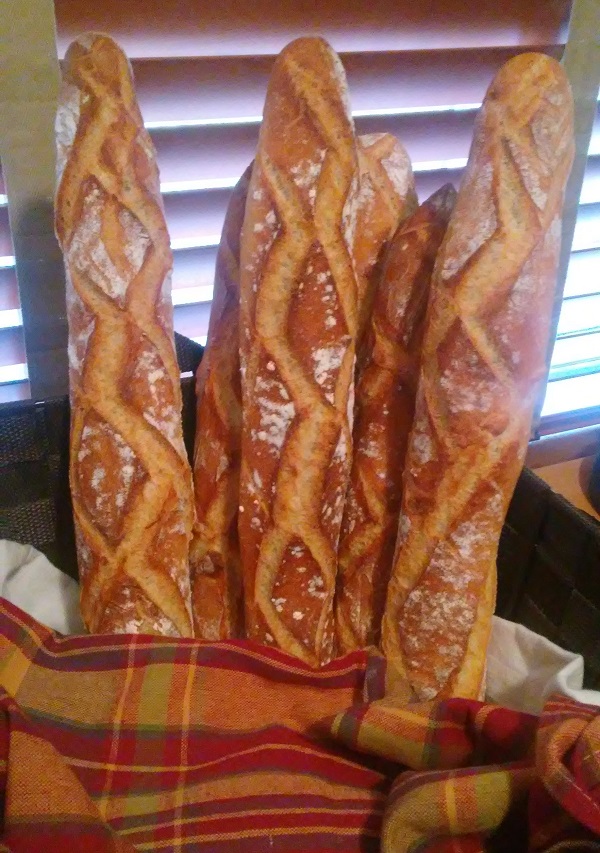
I was pretty proud of the way these came out. They’re simple baguettes, around 60-65% hydration.

171214 bread2-2
Cell phone picture.

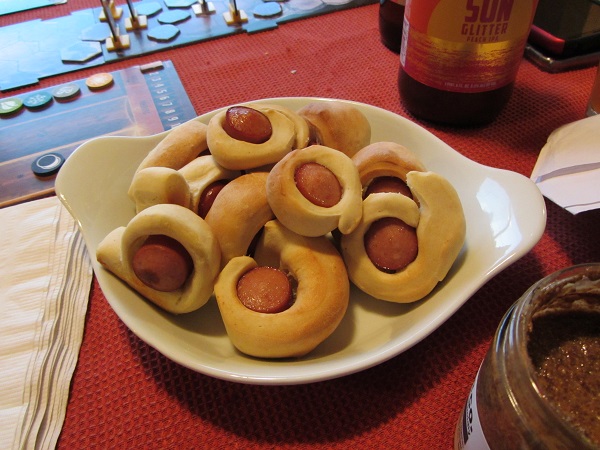
The pigs in a blanket experiment. It’s basically a simple pizza dough wrapped around hot dogs, sliced, then baked ~425F for 15-18 minutes.

181014 pigs in a blanket

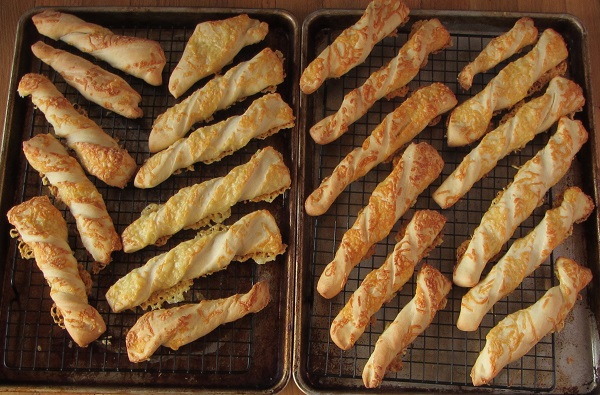
Cheesy breadsticks. Parmesan in this case. Always a hit at beer events.

181122 cheesy breadsticks

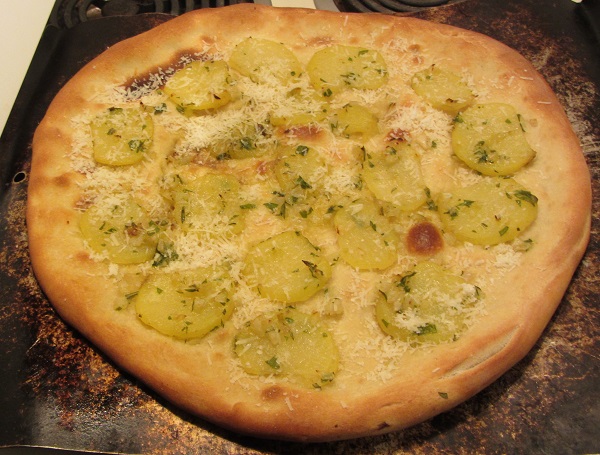
Lastly, a potato pizza:

181210 pizza


Buttery Cheesy Breadsticks

-A.J.

Buttery Cheesy Breadsticks:

170326 breadsticks

These don’t skimp on the butter or the cheese — the butter weight is 25% of the flour weight.

The recipe:  600 g AP Flour, 150 g room temperature butter, 300 g refrigerator water, 12 g kosher salt, 1 tsp instant yeast. (1+ cup of Grated Pamesan is applied to the dough sheet in step 5, below.)

  1.  Add the flour to the work bowl of the mixer. Add the butter and break it up into the flour with your fingers.
  2.  Add the other ingredients (except the Parmesan) and mix on low speed for 8 minutes.
  3.  Refrigerate, covered, for 1-3 days.
  4.  Preheat the oven to 400 F.
  5.  Roll out the dough on parchment paper to 1/4″ – 1/2″ thick. It should come out to a rectangle around 10″ x 15″. The parchment paper will make it easier peel up the dough in step 8.
  6.  Spread the grated Parmesan evenly over the dough rectangle. Use a rolling pin to sort of mash it into the surface of the dough.
  7.  Using a pizza cutter, slice the dough across the short dimension into pieces 1/2″ wide and 10″ long.
  8.  Twist the individual slices and place on Silpat lined baking sheets. I was able to fit these onto two baking sheets.
  9.  Let rest, covered, for 15 minutes.
  10.  Bake for 20 minutes at 400 F.
  11.  Let cool on a cooling rack.

The finished weight of the breadsticks is somewhere North of two pounds — seven people wiped these out in no time. The nice thing about this recipe is that it will hold in the refrigerator for a few days, then be ready to eat in about an hour.

I’ll be making these again. They were a big hit.