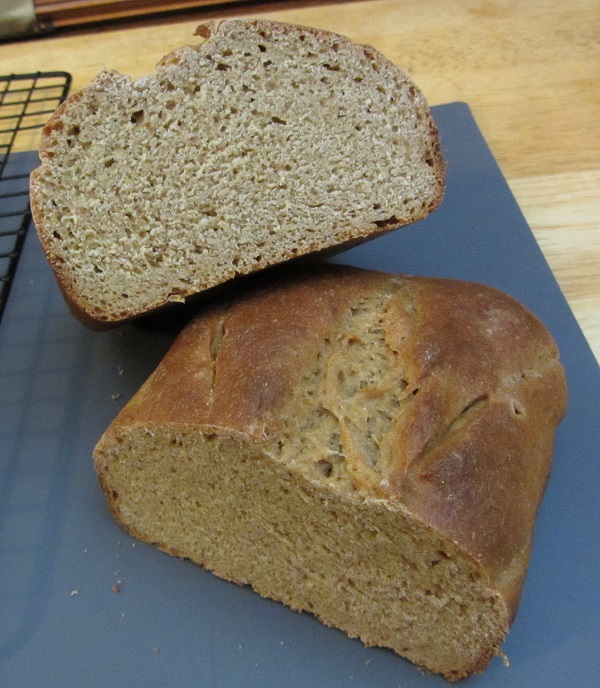
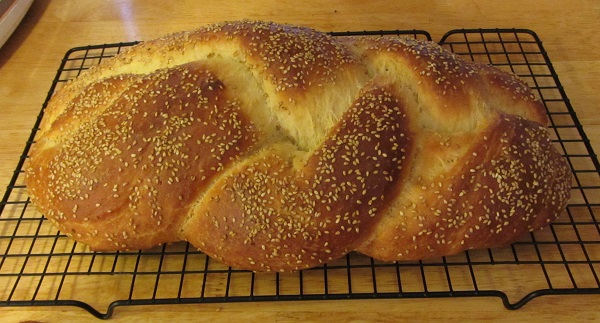
I’m pretty happy with the loaf at this point. It’s still vaguely more crumbly than I’d prefer, but the rest of it is good. The left-half has the crumb facing up:
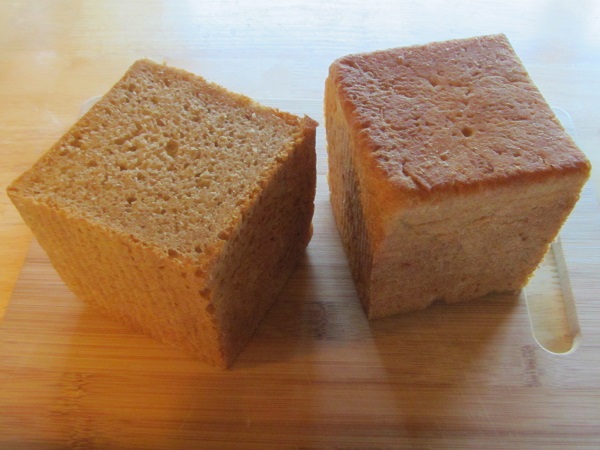
It’s 250g AP flour and 250g fresh-milled whole wheat flour (heritage Turkey Red berries), (500g flour weight total). 375g water (75% hydration). 15g honey (3%), 15g olive oil (3%), and 50g (10%) powdered milk. 10g kosher salt (2% of the flour weight), 1.5 tsp instant (not rapid-rise) yeast.
As far as changes from where it started, it’s just been a continuous reduction in oil and honey from the original. The kneading has been cut way back. And the dough now goes directly from the mixing bowl to the Pullman pan. The current recipe:
Combine all ingredients. Knead on low speed for 1-2 minutes or until the dough comes together.
Cover and let rest one hour for the dough to hydrate.
Mix for 1-2 minutes. Cover and bulk rise until doubled.
Lightly oil the Pullman pan, pan lid, and a rubber spatula. Move the dough to the Pullman pan and spread it out with wet fingers or the spatula. Cover and let rise until 1/2″ from the top of the pan.
Bake at 350F, covered for 30 minutes then remove the cover and bake for another 25 minutes or until the loaf reaches 195-200F.
I think to a degree I’m at a bit of a inflection point for further improvements. I’ve tried a moderate amount of mixing and very little mixing, and the “little mixing” seems to work better. It may be that combining at least the flour with the water overnight in the refrigerator (or possibly all of the ingredients) may allow for a better finished product. Another obvious change would be to sift the biggest chunks of bran out of the whole wheat flour, though that’s something I don’t want to do, both for the loss of nutrients and the bit of hassle and things to clean up afterwards.
It may also be that Turkey Red isn’t the best grain from this application. I still have Rouge de Bordeaux and Red Fife to try out.
So it feels like more upcoming process changes, to what, I’m not sure. Which is a fine problem to have, relatively.
Happy baking